What to Know Before Your First Kayaking Trip: The Ultimate Beginner’s Checklist
Staring out at a calm lake with a brand-new kayak is an incredible feeling, but for first-time paddlers, that excitement is often mixed with a healthy dose of anxiety. What if I tip over? What gear do I actually need? Is it safe to go out today? These are all completely normal questions. If you are searching for exactly what to know before your first kayaking trip: the ultimate beginner’s checklist is here to help you get on the water safely and confidently.
Kayaking is one of the most accessible water sports in the world, but it still requires preparation. A successful first paddle isn’t about having the most expensive gear—it’s about having the right gear, understanding the conditions, and knowing your limits. We’re going to break down everything you need to plan your first trip, what to pack, and what to expect when your hull finally hits the water.
Affiliate Disclosure: Kayakopedia participates in affiliate programs. If you purchase through our links, we may earn a commission at no extra cost to you. We only recommend gear we trust on the water.
Before You Go: Essential First-Time Kayaker Planning
The success of your first kayaking trip is determined long before you leave the driveway. Failing to plan is the easiest way to turn a fun afternoon into an exhausting ordeal.
Check the Weather and Water Conditions
If you’re used to hiking or cycling, you might just look at the sky and temperature to decide if it’s a good day to go out. Kayaking requires a much closer look at the forecast.
Wind is your biggest enemy. For a first-time kayaker, anything above 10 to 12 mph (roughly 10 knots) is going to make paddling feel like a grueling chore and can easily blow you off course. Wind creates chop, pushes you away from your launch point, and drains your energy. Always check the wind direction—if possible, start your trip paddling into the wind so that you have a tailwind helping you on the exhausted paddle back.
Understand the difference between air and water temperature. A sunny 75°F day might feel perfectly warm on land, but if the water temperature is 50°F, you are at a severe risk of cold water shock if you capsize. A common guideline in the paddling community is the “120-Degree Rule”: if the air and water temperatures combined do not equal 120°F or more, you must wear thermal protection (like a wetsuit or drysuit).
Before you load your kayak, always check the local NOAA Marine Forecast for accurate wind, wave, and weather alerts.
Know Your Skill Level — Be Honest With Yourself
Your first time kayaking is about building confidence, not proving a point. You need to pick a location that matches a baseline beginner skill level.
Ideal beginner locations include:
- Small, sheltered lakes or ponds with no motorboat traffic
- Slow-moving, meandering rivers or creeks (Class I water only)
- Calm, protected bays or coves
Avoid open ocean, tidal rivers with strong currents, heavily trafficked powerboat channels, and any moving water with rapids (Class II and above). If you have poor swimming ability, struggle with balance, or lack upper body mobility, it is highly recommended to start with an introductory class rather than an independent outing.
Tell Someone Your Plans
It doesn’t matter if you are only paddling around a local pond for an hour—you must file a “float plan.” This isn’t a complex legal document; it’s simply telling a reliable friend or family member exactly what you are doing.
Your informal float plan should include:
- Where you are launching from
- Your intended route or paddling area
- When you are launching
- Your absolute latest return time (the time they should call authorities if they haven’t heard from you)
If you get stranded, lose your paddle, or your phone dies, this single step is what ensures someone comes looking for you.
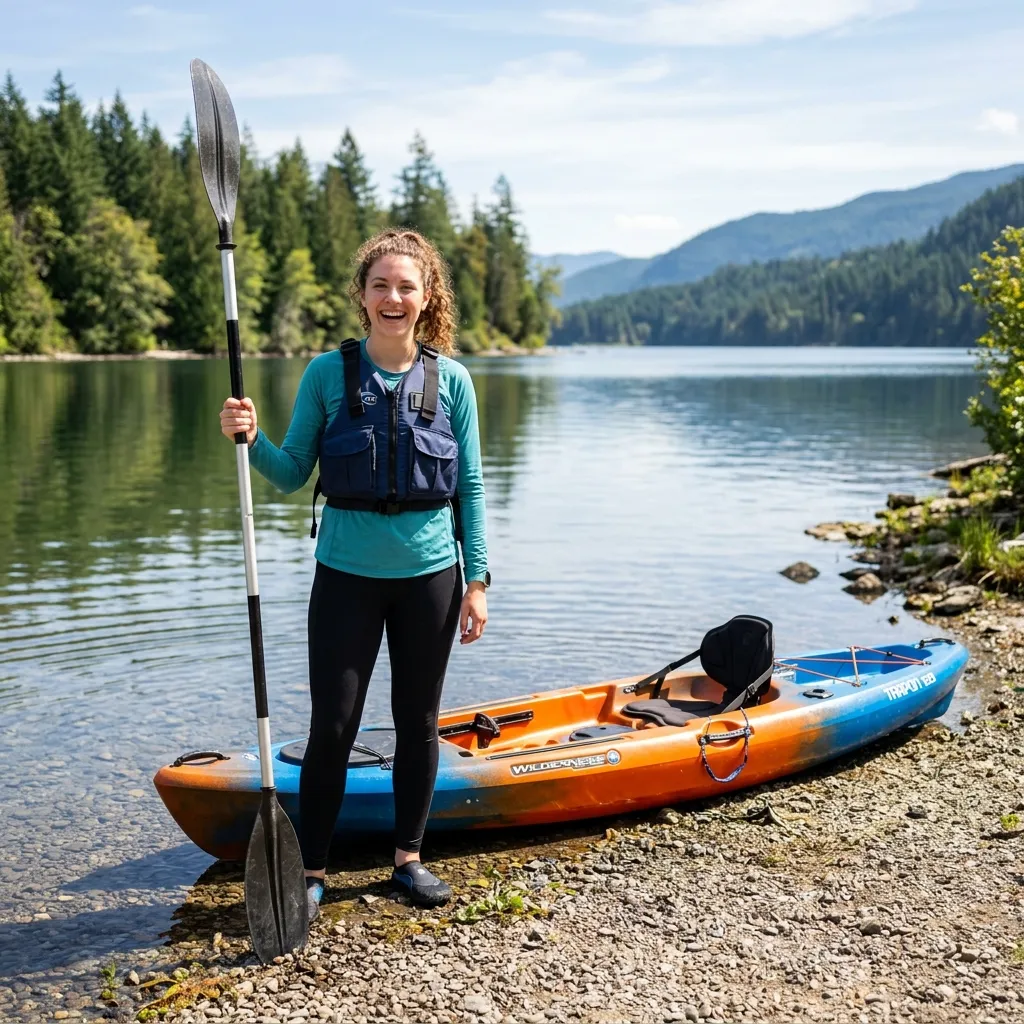
Your Gear Checklist: What to Bring on Your First Kayaking Trip
You do not need to buy out the entire paddlesports store to start kayaking, but there are several non-negotiable items that dictate your safety and comfort.

Personal Flotation Device (PFD) — Non-Negotiable
A Personal Flotation Device (PFD), commonly called a life jacket, is the single most important piece of gear you will own. In nearly all jurisdictions, the U.S. Coast Guard requires you to have a Coast Guard-approved PFD on board. More importantly, you must wear it. Stowing it under bungee cords does absolutely nothing for you in a sudden capsize.
For recreational kayaking, you want a Type III PFD (or Level 50 in modern buoyancy ratings). These are designed for comfort, allowing full range of motion in your shoulders and arms while paddling. Look for designs with mesh lower backs or high foam backs that sit comfortably above the tall seats found in modern recreational kayaks.
Not sure where to start? Check out our beginner-friendly PFD reviews to find the perfect fit.
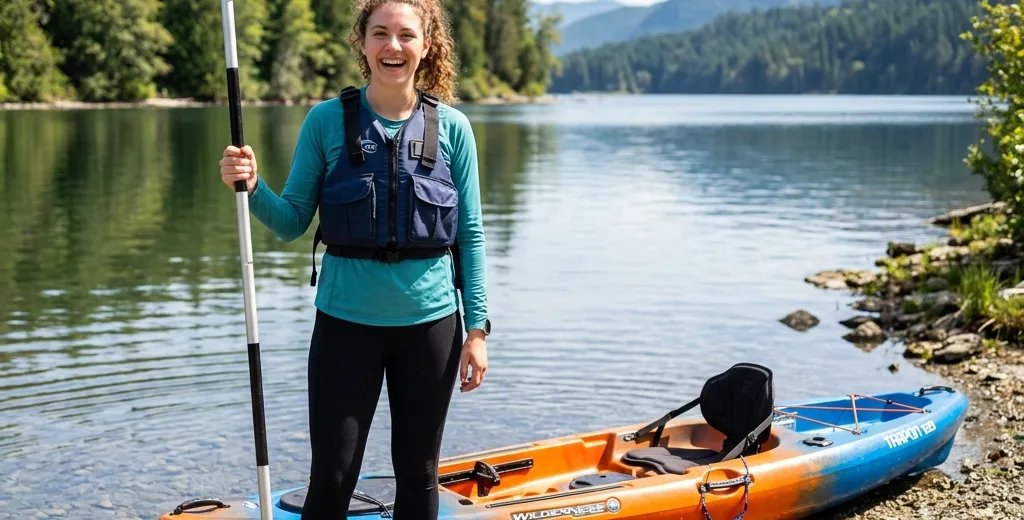
Kayak Paddle
Next to your boat, your paddle dictates how efficiently you move through the water. Using a paddle that is too short will result in you banging your knuckles against the kayak; a paddle that is too long will cause rapid shoulder fatigue and poor control.
Paddle length is determined by two factors: your height and the width of your kayak.
- If your kayak is 28 to 32 inches wide (common for beginner kayaks) and you are under 5’5”, look for a paddle around 220cm to 230cm.
- If you are between 5’5” and 6’0”, a 230cm or 240cm paddle is ideal.
- If you are over 6’0”, aim for 240cm to 250cm.
When it comes to materials, aluminum shafts with plastic blades are the cheapest but heaviest. Fiberglass shafts with nylon blades offer the best middle ground of durability, weight, and price. Carbon fiber is incredibly light but comes with a premium price tag. Browse our entry-level paddle recommendations for affordable, high-quality options.
Appropriate Footwear
Never kayak in flip-flops. They offer zero traction on slippery boat ramps, get stuck in the mud, and easily float away if you capsize. Similarly, heavy hiking boots or cotton sneakers will get waterlogged and weigh you down.
Opt for dedicated water shoes, secure sandals with heel straps, or neoprene booties. Your footwear needs to stay securely on your feet, provide grip on wet rocks, and drain water quickly.
Clothing Layers and Sun Protection
The golden rule of outdoor recreation applies to kayaking: Cotton is rotten. Cotton absorbs water, loses all its insulating properties, and takes forever to dry, leaving you cold and miserable.
Instead, wear synthetic, quick-drying fabrics like nylon, polyester, or merino wool.
- Warm Weather: UPF-rated long-sleeve sun shirts, board shorts or quick-dry leggings, a wide-brimmed hat, and polarized sunglasses (with a retainer strap so they don’t sink!).
- Cooler Weather: Add a splash jacket to block wind and water, thermal base layers, and neoprene gloves.
Always pack sunscreen and apply it generously—water reflects UV rays, significantly increasing your sun exposure.
Dry Bag or Waterproof Storage
Anything that goes on a kayak will get wet. Water drips off the paddle, splashes over the bow, or accumulates in the footwells. If you want your phone, keys, wallet, or spare clothes to survive, you need a dry bag.
A 10L dry bag is perfect for your small personal essentials, while a 20L bag is better if you are bringing a full change of clothes and a towel. Make sure you know how to properly roll and seal the top to ensure it stays watertight. We highly recommend browsing these dry bag product links to protect your valuables.
Communication and Safety Devices
- Whistle: The Coast Guard requires a sound-producing device. Attach a marine whistle directly to the zipper of your PFD. It works when wet and is louder than yelling over the wind.
- Waterproof Phone Case: Keep your phone in a tethered, waterproof pouch. If you capsize and are separated from your kayak, you need your phone on your person to call for help.
- Water and Snacks: Paddling burns a surprising amount of calories. Bring plenty of drinking water in a secured bottle and easy-to-eat snacks like granola bars.
Before You Launch: The On-Water Safety Check
You’ve arrived at the launch site. Don’t rush into the water just yet. Take five minutes to run through your pre-launch protocol.
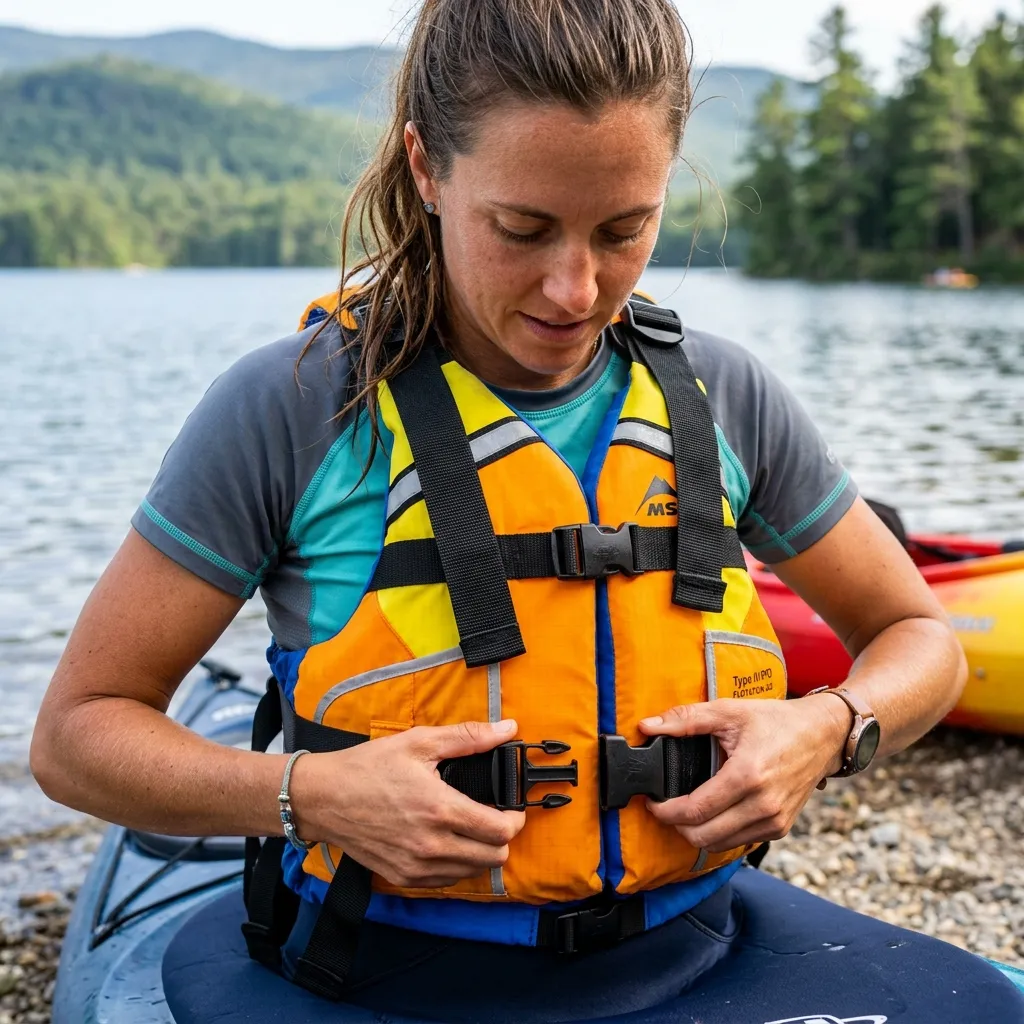
Fit and Adjust Your PFD Correctly
A PFD only works if it stays on your body in the water. Put the PFD on and loosen all the straps. Zip it up, then tighten the straps starting from your waist and working your way up to the shoulders. It should be snug—like a firm hug.
The Float Test: Have a friend pull firmly upward on the shoulder straps. If the PFD rides up past your ears or chin, it is too loose or too large.
Set Your Kayak Up for Success
Take a moment to adjust your seating while you are still on dry land.
- Foot braces: Adjust the foot pegs so that when you sit back in the seat, your knees are slightly bent and resting against the thigh pads or the sides of the hull. Your legs should not be completely straight.
- Seat back: Ensure the seat back provides lumbar support but doesn’t force you to lean forward.
- Storage: Check that your dry hatches are completely sealed and your gear is secured beneath bungee rigging.
Practice Getting In and Out
Entering a kayak gracefully takes practice. The key is to keep your center of gravity as low as possible.
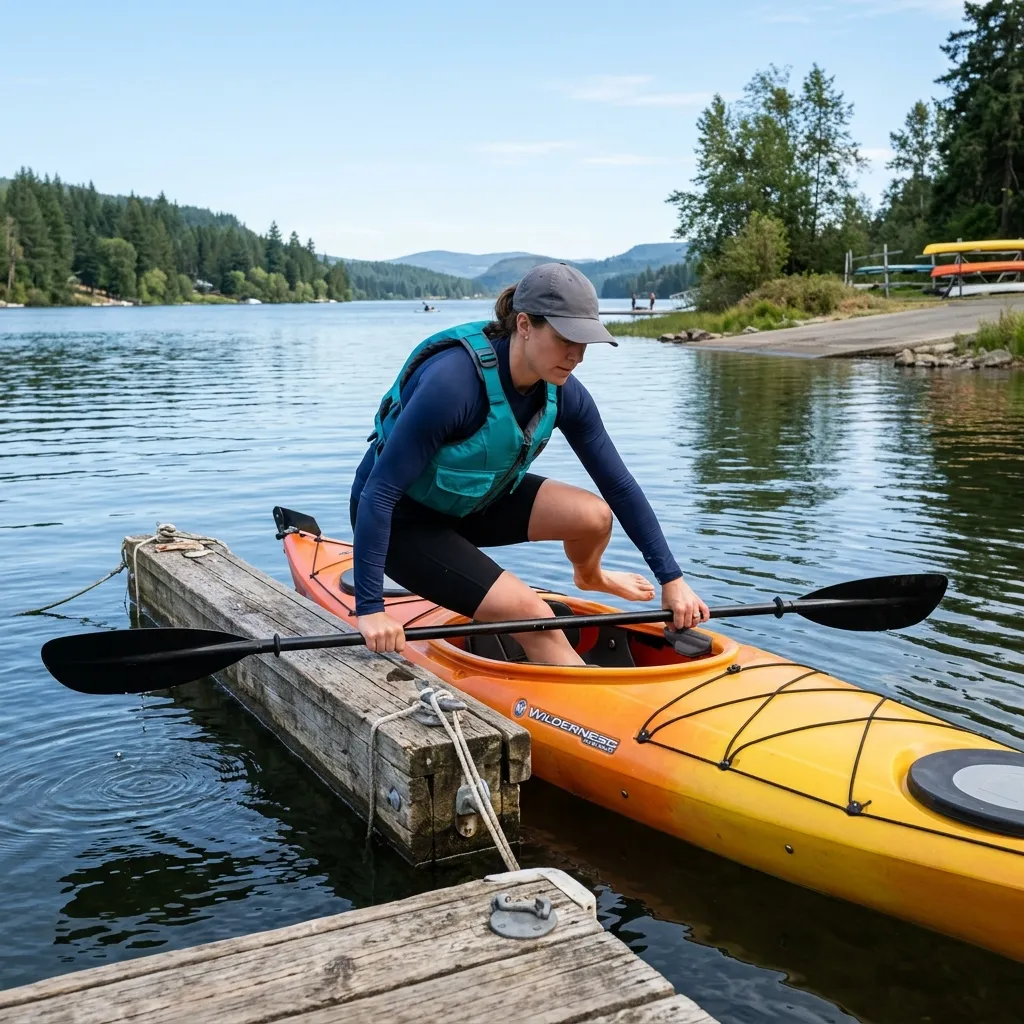
If launching from a shoreline, place the kayak parallel to the shore in a few inches of water. Place your paddle across the deck right behind the seat. Grasp the paddle shaft and the back of the cockpit coaming together, squat low, and slide your legs in one at a time, eventually dropping your weight into the seat.
Understand Basic Strokes Before You Go
Before you are fighting the wind, visualize and practice your strokes on land.
- The Forward Stroke: It’s not about pulling with your arms; it’s about rotating your torso. Plant the blade fully in the water near your toes, and unwind your core to pull the boat past the blade. Read our forward stroke fundamentals for an in-depth breakdown.
- The Reverse/Stopping Stroke: Simply push the back of the blade forward against the water to act as the brakes.
- The Sweep Stroke: To turn, make a wide, sweeping half-circle from the front of the boat to the back on the side opposite the direction you want to turn.
Common First-Timer Mistakes to Avoid
| Mistake | Why It’s a Problem | Prevention Tip |
|---|---|---|
| Skipping the PFD | Increases drowning risk drastically in a capsize. | Treat your PFD like a seatbelt. Wear it 100% of the time on the water. |
| Checking only air temp | Cold water shock is silent, sudden, and deadly. | Always check water temperature and dress appropriately (120-Degree Rule). |
| Overpacking the kayak | Placing heavy items high on the deck ruins stability. | Keep weight low, centered, and ensure dry bags are tightly secured. |
| Ignoring weather windows | Wind can turn a calm lake into an impossible struggle. | Monitor the NOAA marine forecast right up until you launch. |
| Going alone on unfamiliar water | Solo rescue is incredibly difficult for beginners. | Always use the buddy system on your first several trips. |
Your First Kayaking Trip: What to Expect on the Water
The First 10 Minutes
When you first push off the shore, focus on taking deep breaths. Your body will likely be tense, which actually makes the kayak feel more unstable. Keep your head up, look at the horizon (not at your paddle), and take relaxed, consistent strokes. Use these first 10 minutes to feel how the kayak responds to your movements.
Common Sensations for Beginners
You will likely feel a bit “wobbly” at first. This is completely normal. Kayaks have two types of stability: primary (how stable it feels sitting flat) and secondary (how stable it feels when tilted on edge). Most beginner recreational kayaks have immense primary stability. They might wiggle side to side, but it actually takes a significant, deliberate effort (or a major mistake) to completely flip them over. Relax your hips and let the boat move beneath you.
When to End Your Trip Early
There is no prize for exhausting yourself on your first trip. Pay attention to your body. If your shoulders are burning, your lower back is aching, or you notice the wind picking up significantly, it is time to turn around. Always conserve enough energy for the paddle back, keeping in mind that paddling against the wind or a current will take twice as much effort.
What’s Next? Building Your Kayaking Skills
Congratulations, you’ve conquered your first paddling trip! To truly unlock the joy of paddlesports, focus on progressing your skills safely. Consider taking a certified, in-person instruction course. You can use the ACA Find a Course tool to find qualified instructors in your local area.
Continue expanding your knowledge by diving into our beginner resource hub, where we cover advanced strokes, deep-water rescues, and destination planning.
With the right preparation, the right checklist, and a healthy respect for the water, you are setting yourself up for a lifetime of incredible outdoor adventures. You’ve got the gear, you know the safety protocols—you’re ready. See you on the water!